What Property Managers Should Record During Every Drone Inspection
Property managers who use drones for regular site inspections gain a clear advantage in tracking building conditions and planning maintenance. But the value of those flights depends on what gets documented. Flying a drone over a property and simply looking at the footage later leaves too much to chance. A systematic approach to recording data during each visit turns a one-off set of images into a reliable history of the asset.
The single most important step is to treat every drone visit as a repeatable survey. That means using the same flight path, the same altitude, and the same camera settings each time. When you capture images from the same vantage points on every trip, you can overlay them later and spot changes that would be invisible in a single set of photos. A roof inspection that shows a growing patch of worn flashing, or a parking lot where cracks have widened since last quarter, only becomes useful when you have the previous images to compare against.
For every flight, record the inspection date and the weather conditions at the time of the flight. This matters because sunlight angle and cloud cover can make the same surface look different in two separate sets of images. If you note that one visit happened under overcast skies and another under bright sun, you can account for the difference when you compare the photos. Without that context, a shadow on a roof membrane could be mistaken for a stain or a patch of moisture.
During property drone inspections, the most valuable documentation goes beyond simple photographs. A good record includes a site map that shows exactly where each image was taken. Many drone platforms log GPS coordinates automatically, but you should also note the location of any feature you photograph in a way that matches your building plans. For example, if you capture a 360 panorama of the east elevation, make sure the file name or metadata ties that panorama to the correct section of the building. This prevents confusion later when you have dozens of images from multiple visits.
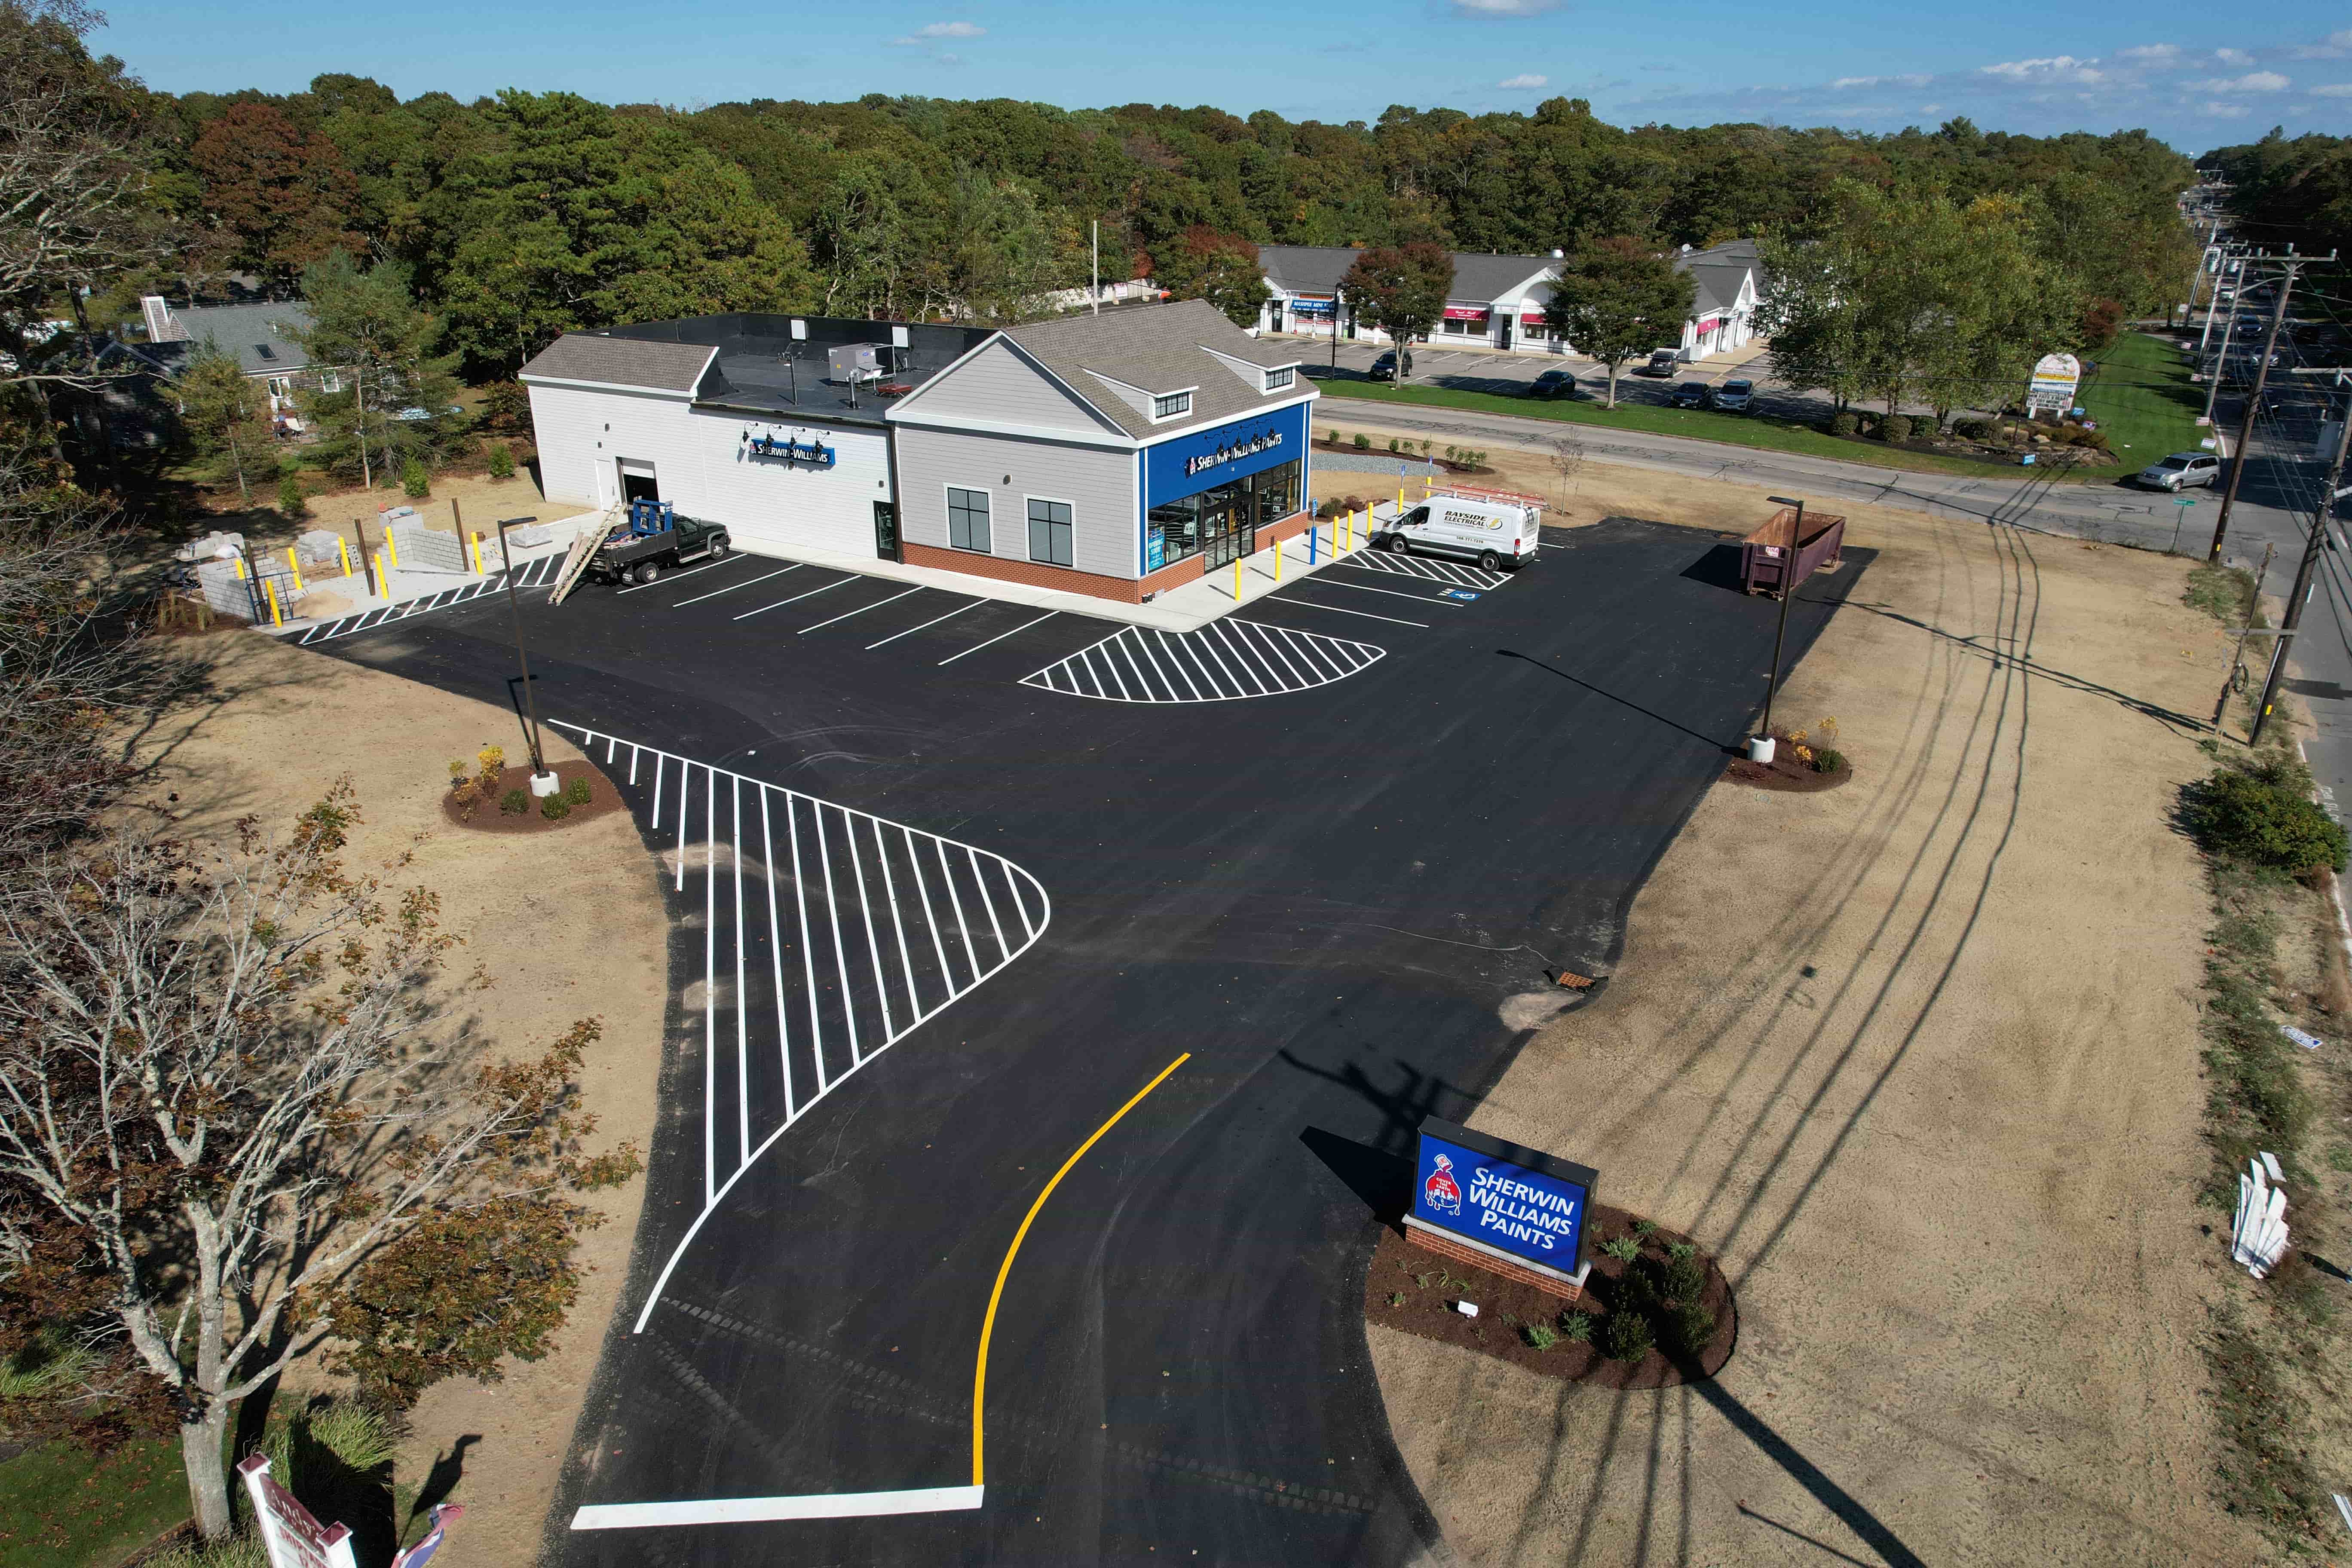
Another essential item to document is the condition of every visible building system. Roofs, gutters, downspouts, flashing, skylights, HVAC units, and any rooftop equipment should be photographed and described in a brief note. Use consistent language: "minor corrosion on the north parapet cap" rather than "some rust on the edge of the roof." Consistent vocabulary makes it easier to search your records and track recurring issues across different buildings in your portfolio.
A practical checklist for each drone visit should include the following five items:
- Flight log: date, time, weather, drone model, and battery level.
- Image inventory: a list of every photo or video file, with a short description of what each shows.
- Location data: GPS coordinates or a reference to a site map for each image set.
- Observed issues: any visible damage, wear, or debris, described in standard terms.
- Comparison notes: reference to the previous inspection so you can note what has changed.
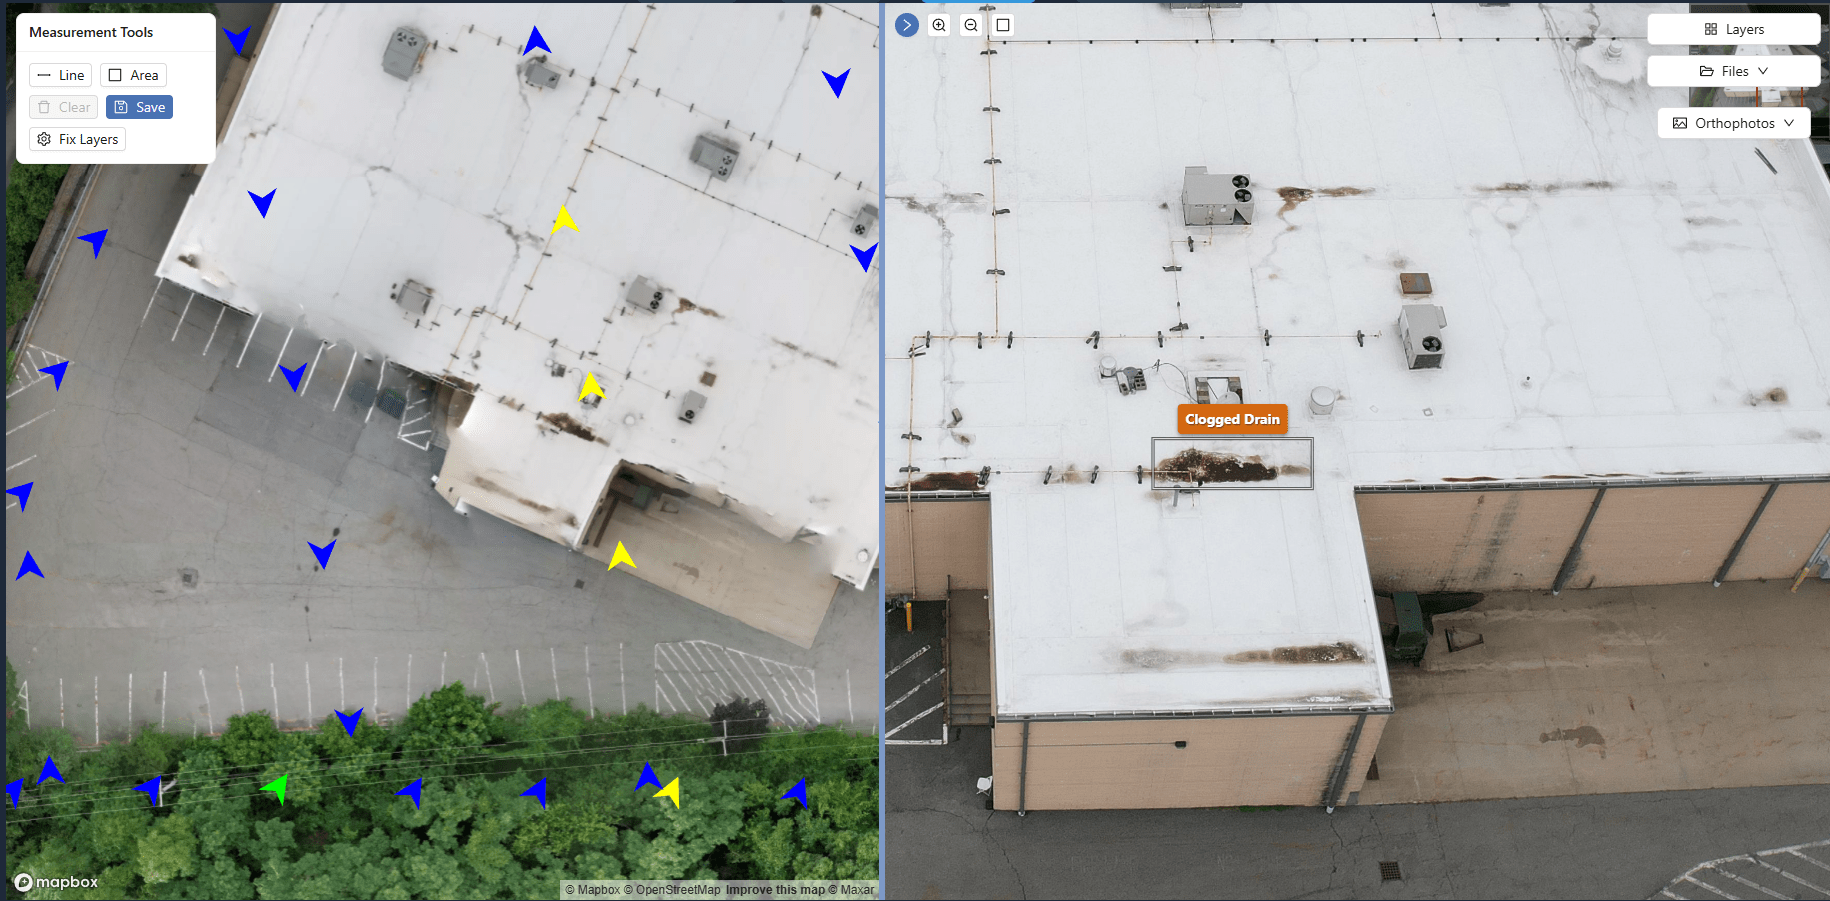
Keeping these records in a central platform that can store, organize, and compare the data over time is far better than scattering files across folders on a laptop. A dedicated system for aerial imagery and mapping outputs lets you view a timeline of each building component side by side. You can pull up a roof section from last spring and this spring and see the difference instantly. That kind of comparison turns raw photo evidence into actionable maintenance plans.
It is also wise to document what was not visible. If a section of the roof was shaded by a tree at the time of the flight, or if a piece of equipment was hidden behind a parapet, note that limitation. A future inspector will know that area needs a closer look from the ground or a different flight angle. Transparency about blind spots keeps your records honest and prevents someone from assuming a surface was clear when it was simply not captured.
For multi-building properties, a standardized naming convention for files and folders saves enormous time. Use a format such as BuildingName_Date_Area_Description. For example, "BuildingA_20250315_RoofNorth_SkylightCrack.jpg." This way, anyone on the team can locate relevant images without opening every file. The same discipline applies to video clips and 360 panoramas. A consistent structure makes the data usable for years, even after the original property manager has moved on.
Another aspect that often gets overlooked is documenting the flight plan itself. If you fly the same route every time, save the flight path file. Many drone apps allow you to export the waypoints. Reusing that exact path on subsequent visits ensures that the images line up for comparison. If you change the route, record the new one and explain why. This kind of process documentation builds trust in the data because you can show that the inspection was methodical and repeatable.
When it comes to facility condition reports, the drone imagery becomes part of a larger record. You should tie each inspection to the corresponding work orders, tenant complaints, or insurance claims. For instance, if a tenant reports a leak, and the next drone visit shows a damaged section of roofing above that unit, link the two records. Over time, this cross-referencing reveals patterns that point to systemic problems, such as a whole row of buildings with failing sealant around the same age.
One common mistake is to document only the problems and ignore the areas that look fine. A balanced record includes images of healthy surfaces as well. That way, when you compare future inspections, you have a baseline of what "good" looks like for that specific building. It also provides evidence that you performed a thorough inspection, not just a quick look at the obvious trouble spots.
After each flight, review the images within a day or two while the conditions are still fresh in your mind. Add any notes that did not get recorded during the flight. This is also the time to flag urgent issues for immediate action. A loose tile that could fall, a ponding area on a flat roof that might lead to a leak, or a tree branch rubbing against a wall should all be documented and escalated. The photo evidence from the drone visit gives the maintenance team a clear picture of what needs attention and where.
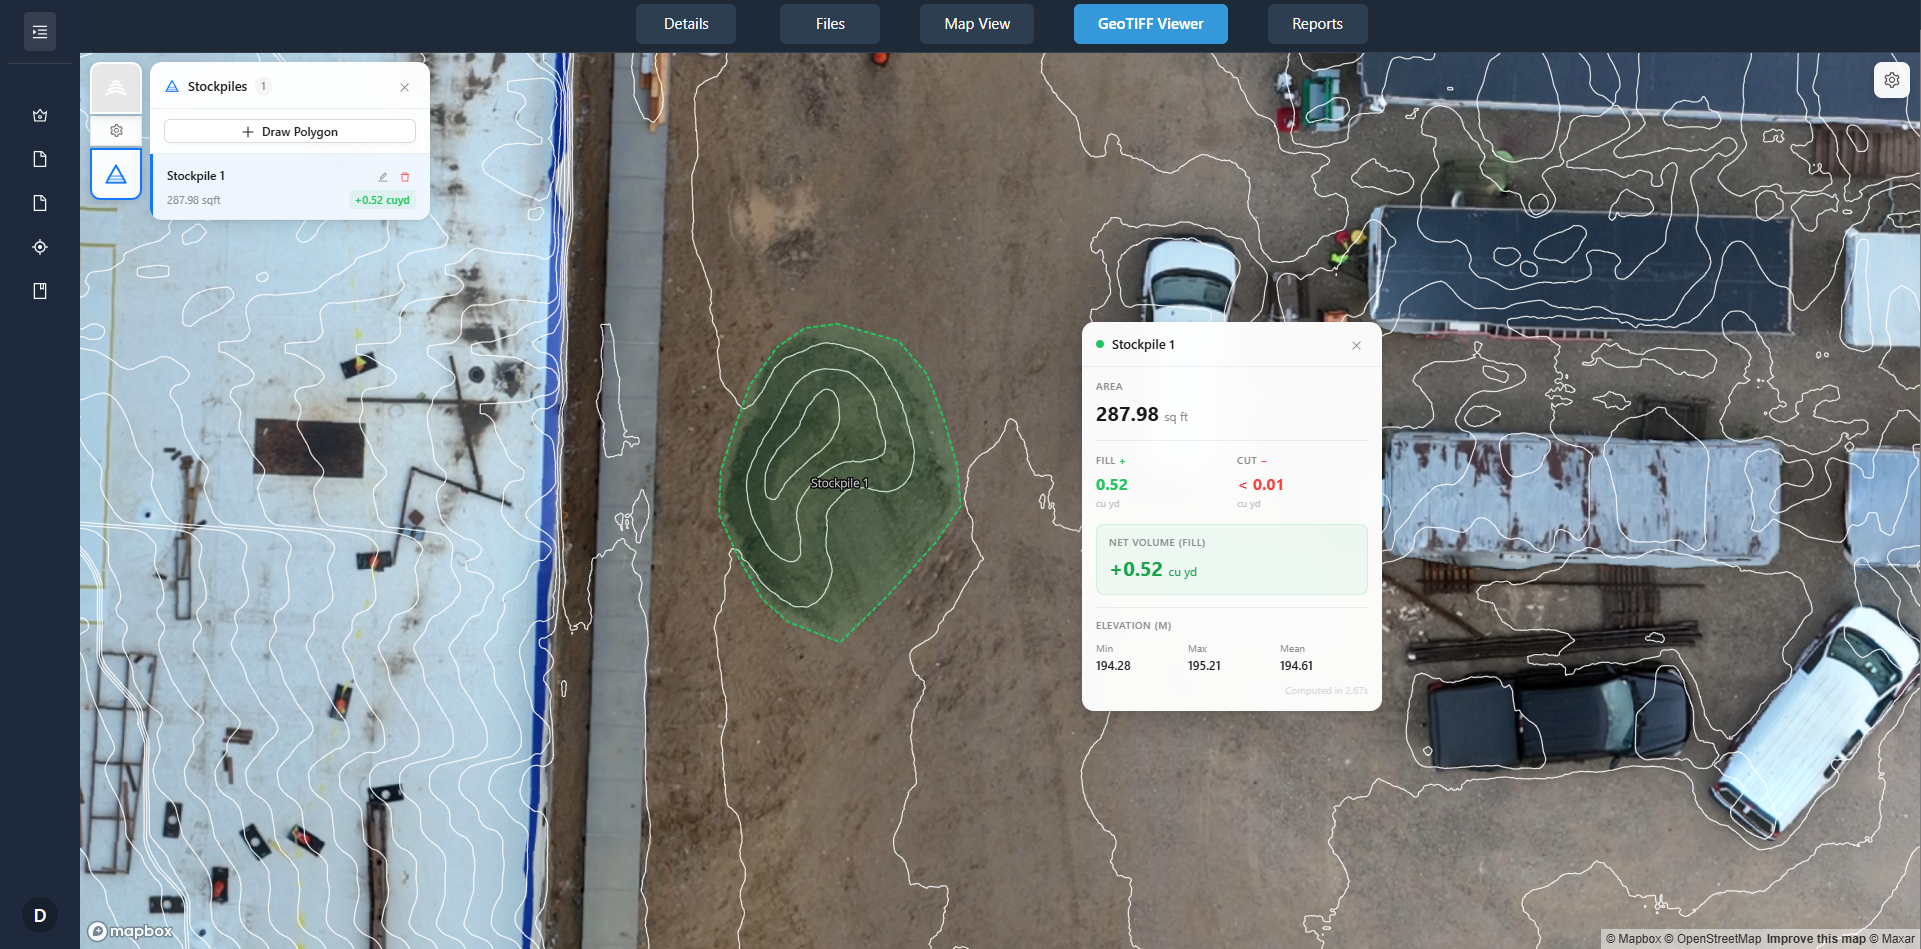
Finally, store everything in a format that is easy to share. Property managers often need to send reports to owners, board members, or insurance adjusters. A digital portal that organizes images, maps, and notes into a readable report saves hours of work. The ability to compare two inspections side by side in a web browser is far more convincing than a stack of printed photos. It also makes it easier to justify budgets for repairs or capital improvements because the visual evidence is right there.
Drone inspections are only as valuable as the records they produce. By documenting every flight systematically, property managers build a history that supports smarter decisions. The same set of images, organized well, can serve multiple purposes: routine maintenance planning, warranty claims, insurance renewals, and even legal disputes. Investing a few extra minutes per flight to capture the right data pays off every time you need to answer a question about a building's condition.